 My Account


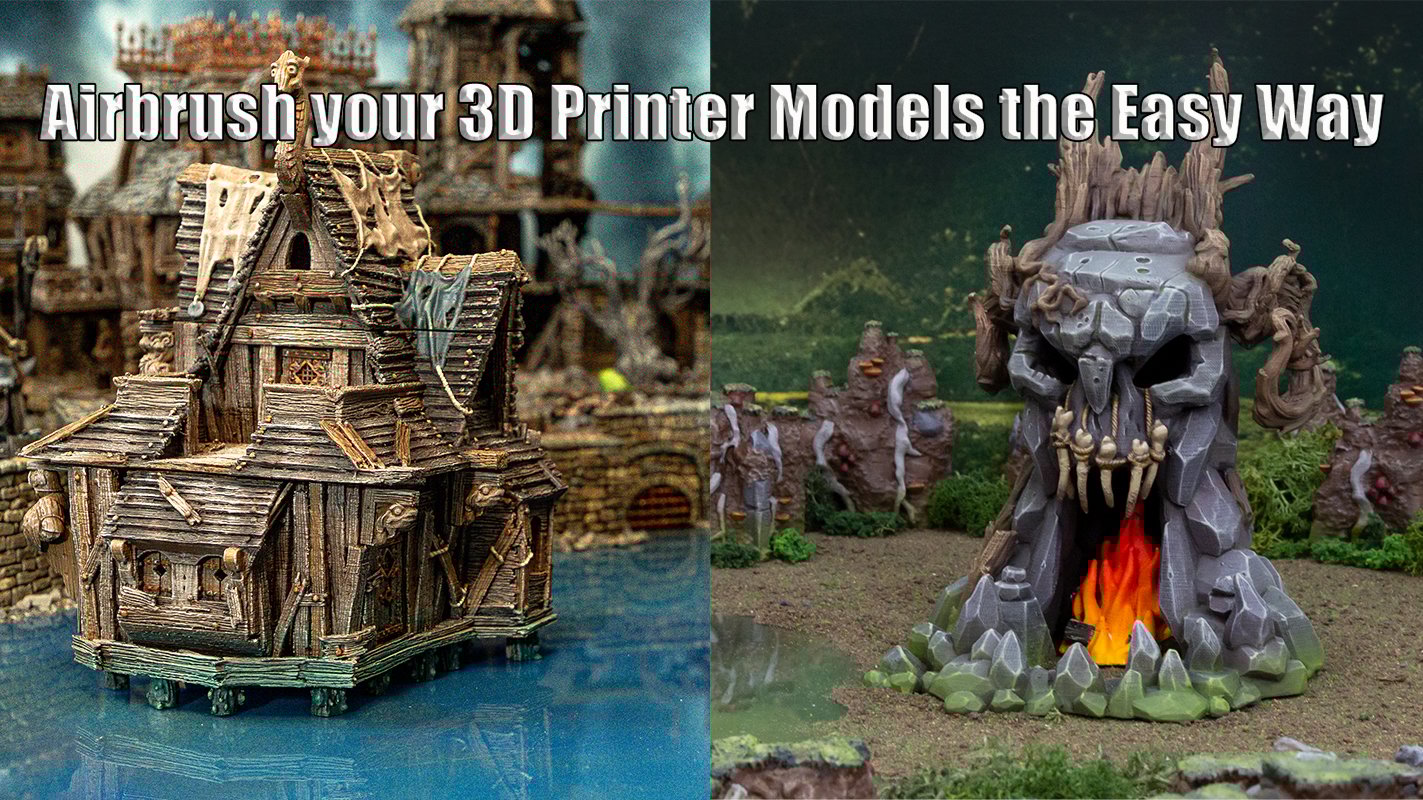
Airbrush Your 3D Printer Models The Quick And Easy Way.
Why Airbrush?
Airbrushes have many uses, even outside the miniature painting hobby. It’s a versatile painting method that allows you to create all kinds of looks and effects, but notably, it gives you a very clean and smooth finish and excellent color fades. It’s very fast and allows you to spray undercoat your miniatures even when the weather outside is terrible.
Previously, there was quite a setup cost involved with airbrushing, but nowadays you can get a decent airbrush for around $40, and a compressor for around $50. This is a great starting point and perfect for painting terrain.
The Best Type of Airbrush and Other Equipment
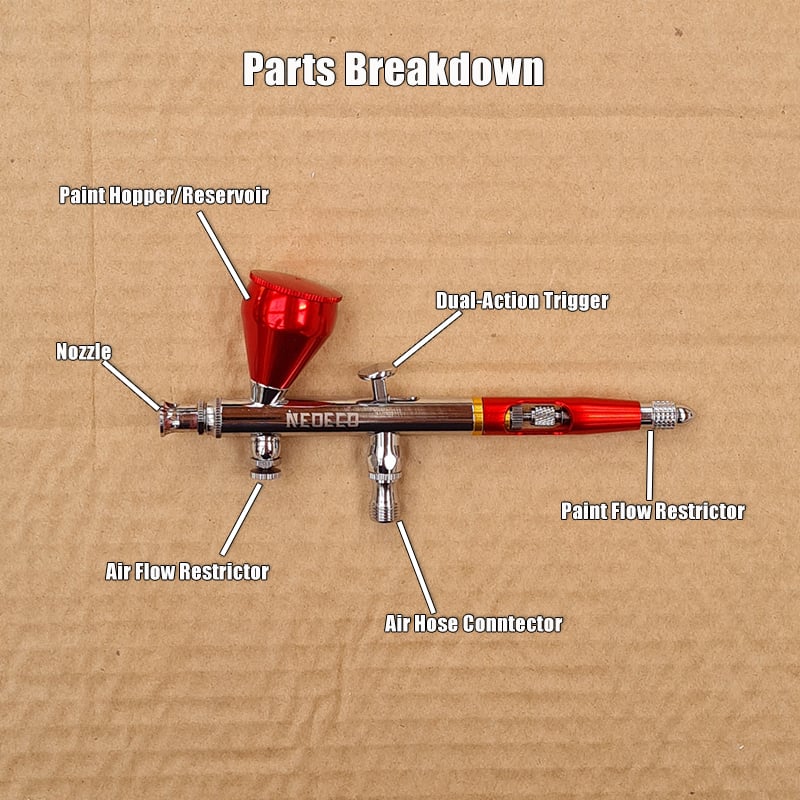
When you start shopping for an airbrush, you’ll see a few different types on the market. They typically have to do with the way the paint flows into the airbrush and the type of trigger mechanism. For miniature painting, you want a dual-action, gravity-fed airbrush. This gives you the best control over the flow of paint
For an air compressor, the most amount of psi you’ll need is 30, and you’ll normally airbrush at about 20 psi. Anything that goes above that isn’t needed. This means you can get yourself a fairly small and cheap compressor to start. Pretty much every compressor will allow you to adjust the air pressure. If you can, get one with a moisture trap as well.
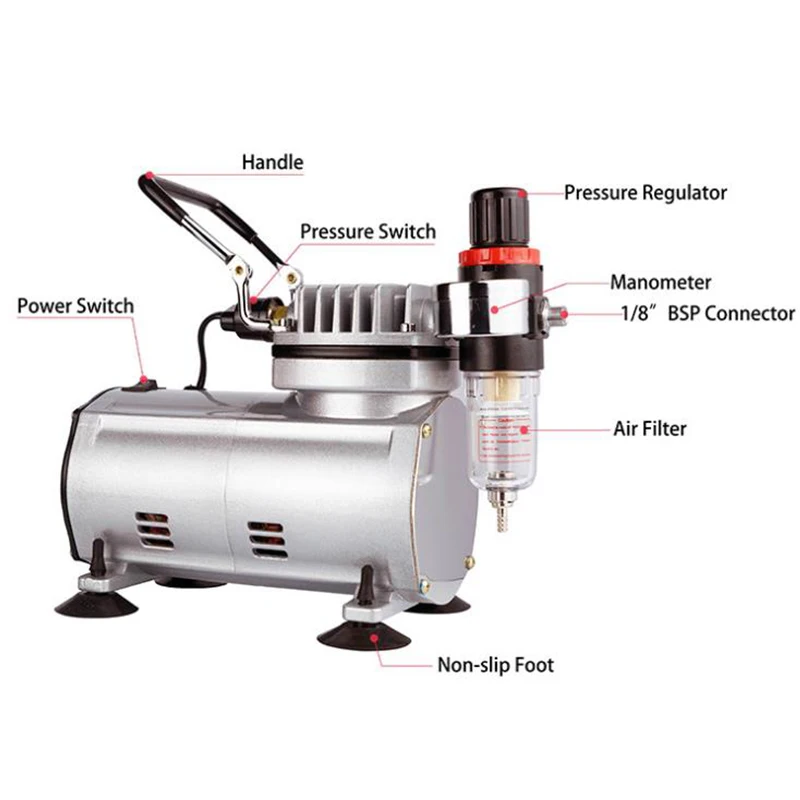
You’ll probably need an airbrush hose, as some airbrushes or compressors will come with a hose already but not all do. There are different size fittings so ensure the one you purchase fits both your airbrush and compressor.
Other useful equipment includes airbrush thinner, gloves, a paintbrush, a mask, a squeeze bottle filled with soapy water, paper towel, and paints!
How To Use An Airbrush
Ok, so you’ve got your airbrush, compressor, and other equipment. Make sure you’re spraying in a ventilated area and preferably in a spray booth (ie open cardboard box) where you won’t get excess paint anywhere else.
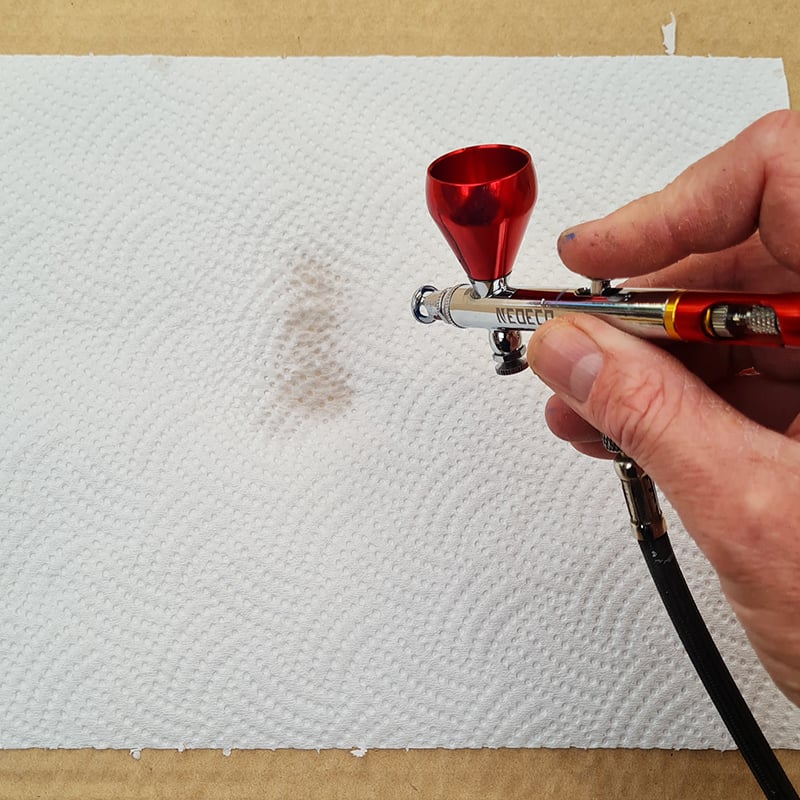
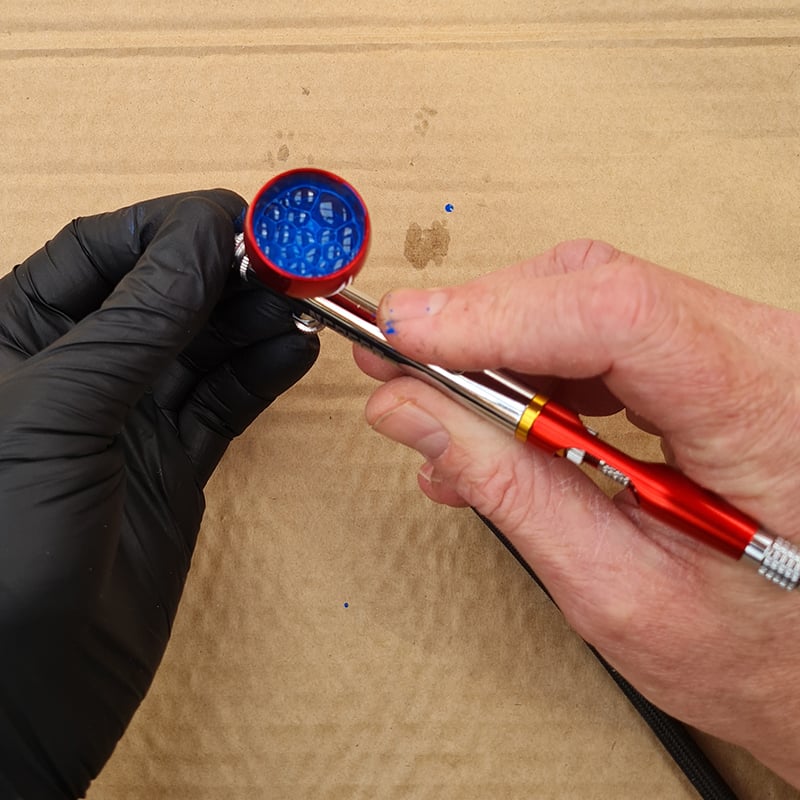
If you’re using an airbrush for the first time, it’s good to just put in a few drops of water or thinner and practice spraying on some cardboard or paper. You’ll soon get the feel of the trigger action, pulling back for paint flow and pushing down for airflow. The gentler you are with each of these, the finer your airbrushing will be. The good thing is you can do this as much as you like and you don’t need to clean the airbrush afterwards.
The other very important technique that is often overlooked with airbrushing is back-flowing. As the name implies this is reversing the push of paint back up into the airbrush instead of out. To do this, place your finger or paper towel over the end and flow air in. This will bubble up air back into the hopper and out of the airbrush chamber. This does 2 things; mixes up paint in the hopper and cleans out paint in the chamber.
For many hobbyists, the biggest barrier to getting into airbrushing is cleaning it. If you don’t load your paint up properly they can clog and jam. Don’t worry, this happens to everyone. Mentioned above is having a squeeze bottle with soapy water in it. Once you’re done with color, tip out the rest (don’t spray it through the airbrush unnecessarily) and put in a few drops of soapy water. Backflow this, tip it out, and spray out the remaining few drops. Repeat this 2-3 times and you’ll have a clean, unclogged, airbrush. In between washes, it can be helpful to wipe out the paint with a paper towel. You’ll know it’s clean when you spray the water through with no traces of color.
Mixing Paint for Airbrushing
Paint going through an airbrush needs to be thinned down so that it doesn’t clog the tiny nozzle it is all sprayed through. The ideal consistency for airbrushing is that of milk. There is no exact ratio of thinner to paint that can be recommended other than to experiment and get a feel for it. Even two paints of the same color and brand can have different consistencies. Paints that are made for airbrushing will still need a drop or two of thinner.
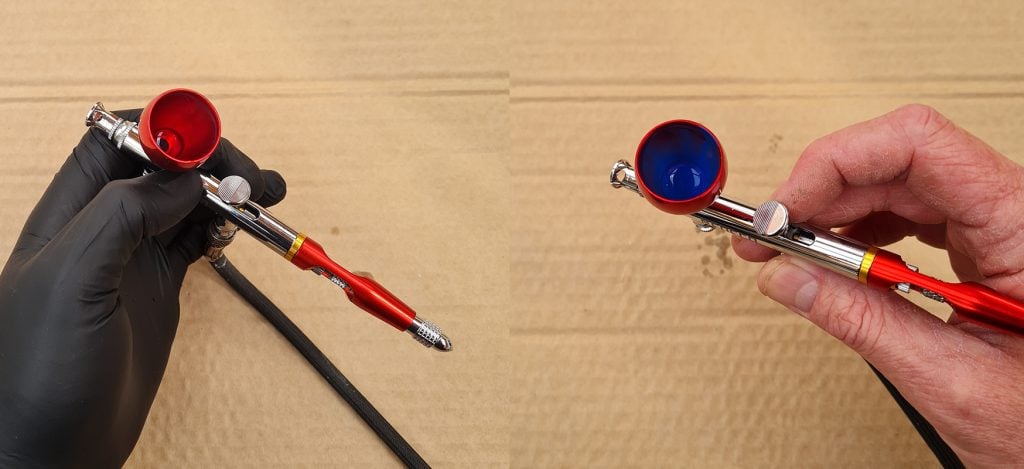
A useful tip is to always put a drop or two of thinner in the hopper before any paint. This creates a barrier between the working parts of the airbrush and the paint, helping to prevent blockages. Often we’ll use a brush to mix the paint in the hopper, but if you’re using airbrush-specific paints, often just a few seconds of back-flow will mix it up enough.
Best Applications for 3D Printer Models
One of the best applications for 3D Printer Models is undercoating and varnishing. You can get a big bottle of airbrush primer for about the same price as 1 can of spray paint it will do at least 5 times as much priming. Once you’re comfortable airbrushing you’ll never need to put up with those fumes again!
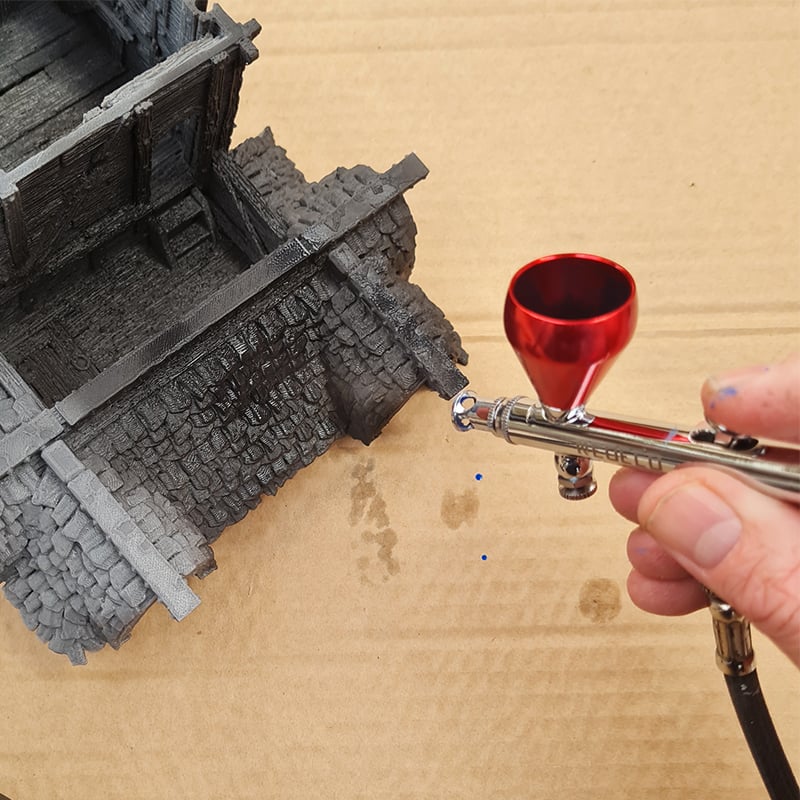
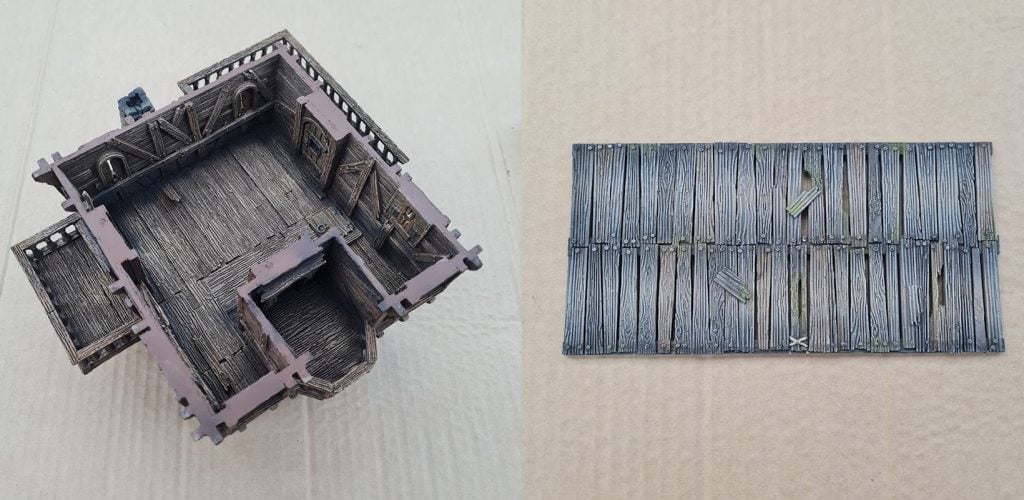
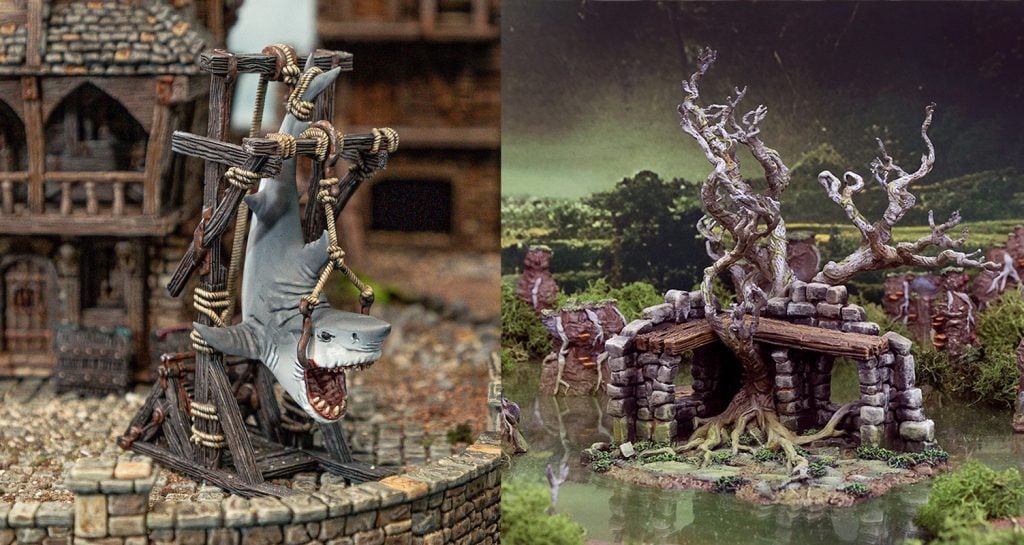
You can quickly basecoat large areas of terrain too, saving a ton of time. Our favorite use is to add light sources and aging to models using lighter tones. If you spray from a high angle then the paint will only hit those top surfaces, like where the sun would bleach color away from wood. This gives instant highlighting without the tedium of picking out every little edge.
We also use the airbrush to add effects like swamp scum and water staining to the bottoms of models around water. You can load up your airbrush with a wash or ink and spray along the bottom or in crevasses to easily add depth and atmosphere. Airbrushing is also perfect for large areas of flesh like on monsters.
Maintenance
Earlier we discussed cleaning between paints and clearing out a blockage, and most of the time this is all you’ll need to do. Sometimes you’ll want to give it a deeper clean. Each airbrush is slightly different but all have similar parts and principles. Every so often it’s good to take it apart and give a good clean out in isopropyl alcohol. Each will have the back end come off allowing you to take out the needle that controls the flow of paint. Be very careful with the needle, if you bend the tip it can be nearly impossible to straighten again. Also at the front, you’ll be able to twist off the end and uncouple the nozzle.
We keep a small tub of isopropyl to soak the airbrush in for an hour or so before cleaning out any remaining paint with a small brush and paper towel. Importantly, do not take apart the trigger mechanism and spring. You can put it back together easily enough, if you do this a few times you’ll find the trigger action becomes looser and you’ll lose precision. No paint gets into the trigger and airflow part so there’s no need to clean it.
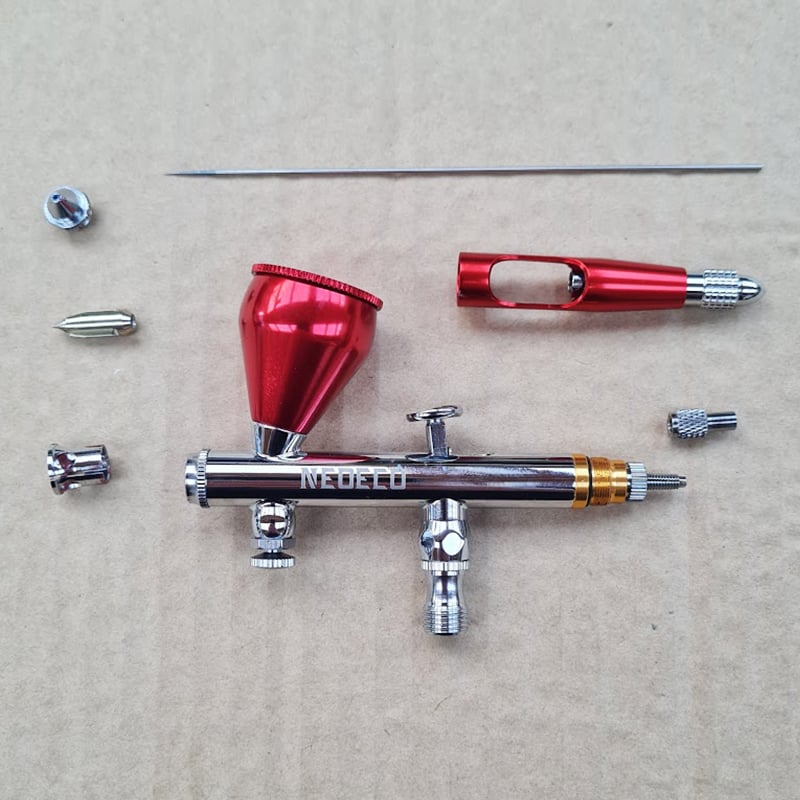
Which Airbrush Do We Use?
Currently, we the Neoeco NCT-SJ83, a cheap but effective airbrush. It comes apart easily for cleaning, has good precision, and comes with spare parts which many on the market don’t. Everything you’d need to paint your 3D printed terrain with.
No matter which airbrush you use, have fun with it! You can do some amazing effects quickly and easily with airbrushing. Experiment, try out different colors and paint types and see what works for you. Once you’re confident you’ll never look back, we certainly won’t!
Nice tutorial 🙂
I use a infinity CR+ and and Evolution CR+ with a .2 needle and a .35 needle.
I pretty much paint exclusively with airbrush on scenery hardly ever picking up a brush, apart from oil washes.
I don’t know if it is okey to ad this, but EXTRMELY airbrush friendly paints are Molowtow one4all, no thinning needed for .2 needle even and barely clogs, works stunningly as primer and undercoat in one.
to add accents use inks, at a lower PSI
I had some reactivation problems wir Molotow one4all. How long is your dryingtime?